DIY Concrete Kitchen Countertops: A Step-by-Step Tutorial
Concrete countertops are on-trend correct now, for many people fifty-fifty replacing the granite that was the aristocracy countertop material of choice for the last 10-xx years. You may or may not be enlightened that you lot tin can replicate the await of physical kitchen countertops with a concrete underlayment called Ardex Feather Finish, spread onto existing countertops and sealed with multiple layers of sealant…and for a fraction of the cost of custom concrete countertops.
 View in gallery
 By using a physical countertop sealer over top of this concrete underlayment, you tin can enjoy that polished concrete countertop await without a lot of hassle at all.
 View in gallery
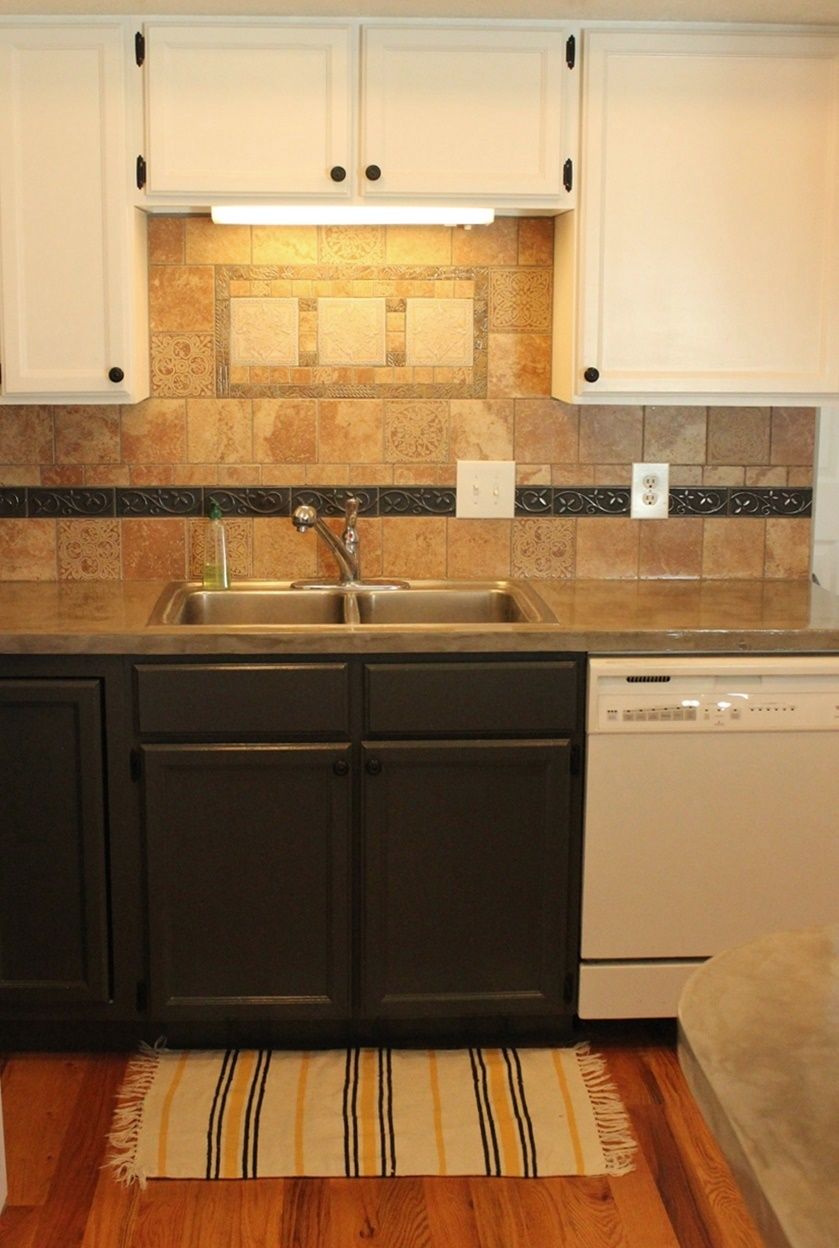
 In this tutorial, I transformed my tired, scratched, bumpy laminate countertops into contemporary concrete with an industrial vibe. Hither is a "earlier" photo:
 View in gallery
 Hither is an "after" photograph:
 View in gallery
 Ready to get started on your own concrete kitchen countertop transformation? Here'southward how to brand your very ain concrete countertops without any of the concrete countertops cost.
 View in gallery
 DIY Level: Intermediate
Materials you'll demand to DIY a concrete countertop:
- Ardex Feather Finish concrete underlayment (Sold in 10# bags; amount needed depends upon the foursquare footage of your kitchen countertops. This example uses about 1.v bags.)
- Big (at least 8") trowel
- Modest (two"-four") putty knife
- Mixing bucket & stick
- Measuring buckets
- Sandpaper: Coarse (threescore- or lxxx-grit), Fine (220-grit), and Very Fine (800-grit; optional)
- Mask
- Sealant (This example uses 511 Impregnator and Safecoat Acrylacq.)
- Optional: Electric sander, wet/dry vac, newspaper towels, baby wipes
How to make a concrete countertop: step by pace guide
 View in gallery
 Step 1: Clean Surfaces
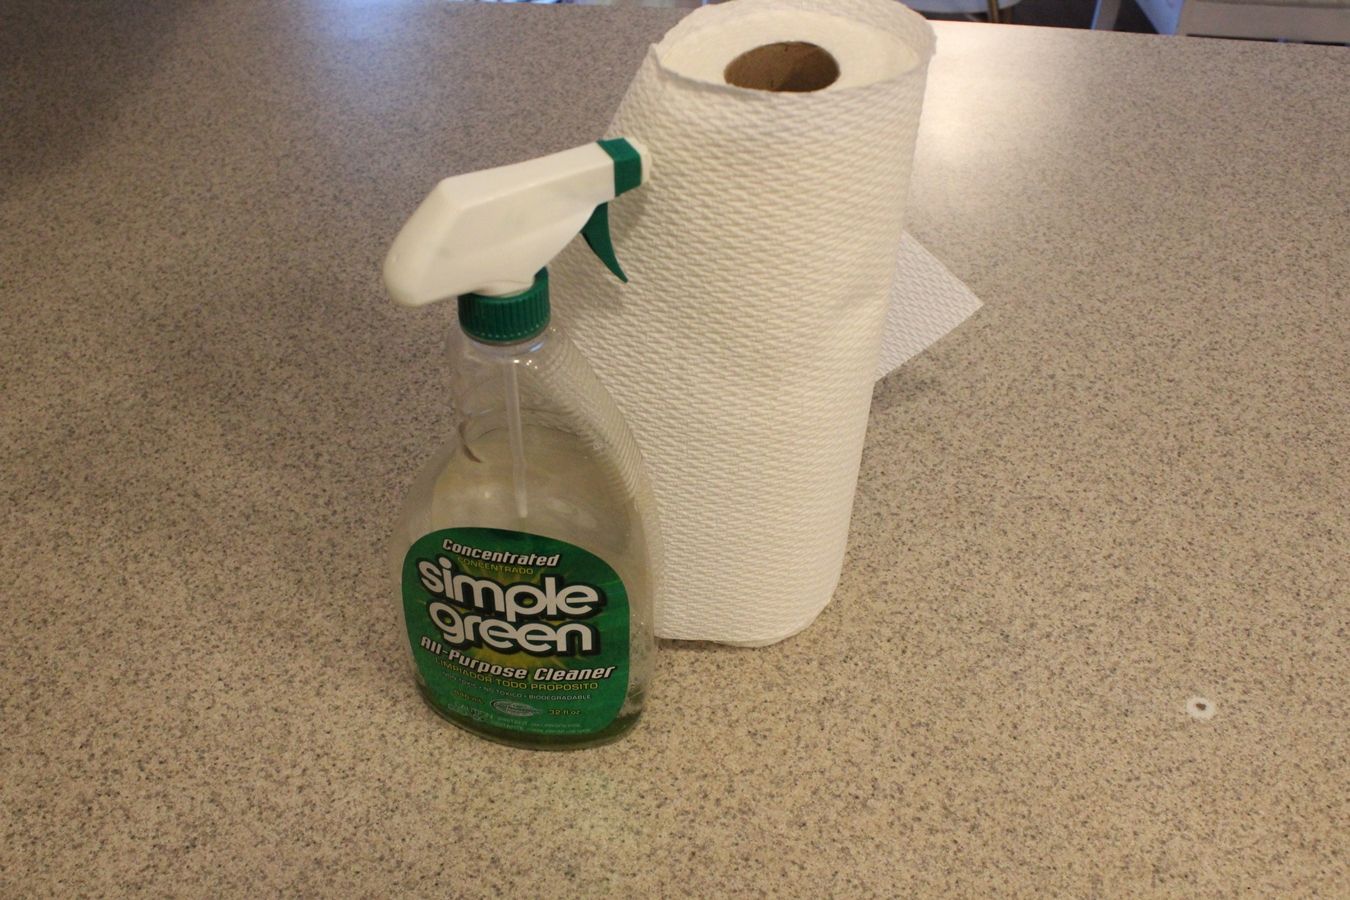
Clean up existing kitchen countertops. It's critical to begin with a clean, grease-gratis surface. Utilise your favorite cleaner to wipe everything downwards.
 View in gallery
  View in gallery
 If your countertops have any loose edges or bumps, it's the time to become rid of the moveable material. My countertop had a burned bump that I could push on and move, so I just cut it out.
 View in gallery
 If your countertop has scratches or dents or holes, this covering will take care of those things. Don't worry most them.
 View in gallery
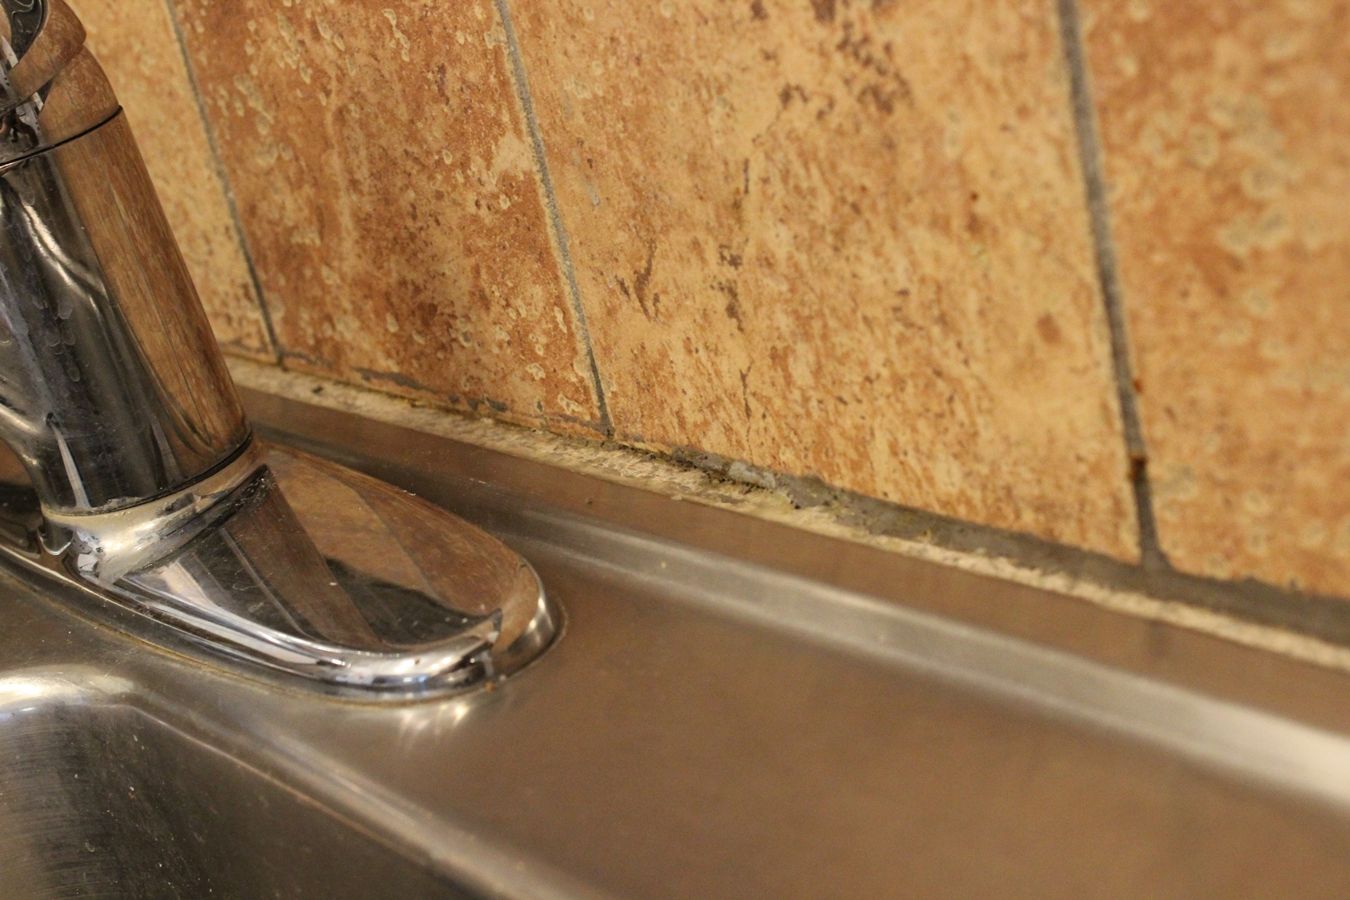
 Pay special attending to the space around your sink. If you have silicone sealant or like that is visible, you lot'll want to remove it with a razor blade before you begin spreading the concrete, because (I learned) the concrete doesn't stick well to the rubbery surface.
 View in gallery
  View in gallery
 (Annotation: If you forget to do this, no worries. You can use a razor blade to remove the silicone and the first layer of concrete in i swipe subsequently information technology dries and fails to stick.)
 View in gallery
 I removed loose grout behind the kitchen sink and left the space bare. The physical filler will have care of these spaces.
 View in gallery
 Footstep 2: Sanding the Countertop
Sand the countertops with coarse sandpaper. Employ 60- or eighty-dust sandpaper to rough upwards your countertop. The idea is to scratch it so the concrete has something to "hold on" to. Clean and dry the countertop thoroughly subsequently sanding before proceeding.
 View in gallery
 Step 3: Mix your Cement
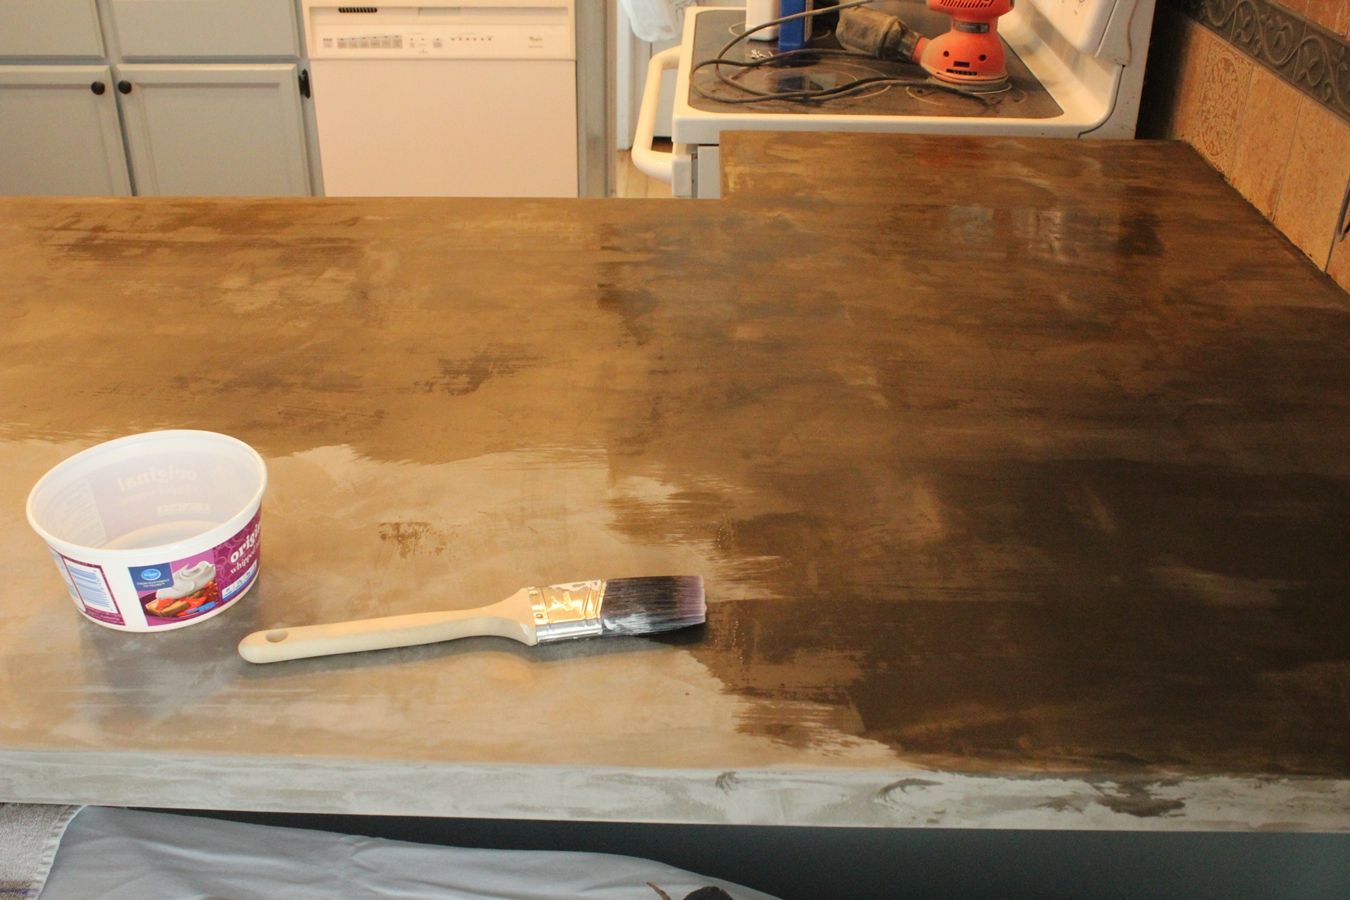
Mix up a pocket-sized amount of Ardex Feather Finish. The manufacturer's instructions recommend a two:i powder-to-water ratio. This is a good identify to offset, and you'll be able to tell if that'due south the ratio that works for y'all. It'south important to utilize the same ratio for each batch that you mix upward for 1 layer, because fifty-fifty small differences in h2o content can (and will) slightly change the color/darkness of the dried concrete. Y'all'll probably be mixing upwards several batches per layer.
 View in gallery
 Advisedly stir up your mixture, existence careful to continue the powder-dust downward and not splash your pulverisation everywhere. (This is the voice of experience speaking.)
 View in gallery
 Ideally, you want a consistency not unlike peanut butter, where the concrete will stick to your putty knife (or trowel) when it'due south held upwardly vertical.
 View in gallery
 Step 4a: Apply to Countertop
Working in small sections at a time (perhaps one' x 1'), spread concrete over countertop surface. I found it easiest to glop down about a cup-full in the centre of my square pes working space.
 View in gallery
 Identify your trowel into the concrete and swipe it so that there is a fairly even strip of physical all across the edge of the trowel. Brainstorm in a corner, and elevate the trowel smoothly. Choice up trowel, and motion over so there is an inch or two of overlap, then spread once again in the aforementioned management.
 View in gallery
 If gaps occur, where the concrete runs out, take your putty knife and add in a bit of concrete to the gap. Run trowel over area again to smoothen in the new improver.
 View in gallery
 While you don't want to run your trowel over and over the aforementioned physical mix (it will start to dry out, and your efforts at smoothing everything out will exist thwarted), I found it to be a good idea to elevate my trowel in the perpendicular direction after a section was covered. This helped to alleviate major trowel lines.
 View in gallery
 Continue in this way, getting a pocket-sized department looking how you lot desire it earlier moving on, all effectually your kitchen countertop surface.
Handy Tip: Information technology's important to "complete" a section before moving on, because the dry time of the Ardex Feather Finish is non long.
 View in gallery
 Using the smaller putty knife, spread concrete on the edges of the countertop.
Handy Tip: I institute information technology best to strive for thick coverage on all corners (like the corner betwixt the countertop's top surface and the sides) and the edges, because this tin exist sanded smooth. It'southward easier to sand smooth when you take a little extra concrete to begin with.
 View in gallery
 Handy Tip: Later the corner has "ready" for a few minutes (5-10 minutes), I plant information technology useful to go along with my fingers and mold the concrete smoother. The concrete will exist a bit drier past this fourth dimension, just it volition still be malleable, which is prime status for pinching it and getting a corner you really similar. Of course, y'all'll be able to sand after, so don't worry virtually making information technology perfect.
 View in gallery
 Avert adding water in spots. One strategy I attempted just at present recommend that you lot AVOID is adding h2o to my fingertips and spreading the corners smooth, if I miss the window of malleable opportunity. This is also evidence of powder-to-water ratio discrepancies and discoloration, even after it dries.
 View in gallery
  View in gallery
 Step 4b: Make clean Upwards as yous Get
While physical is still moist, run a newspaper towel or baby wipe along the border to clean information technology upwards a flake. Don't worry if you miss a spot; the physical volition scrape off adequately easily fifty-fifty when dry.
 View in gallery
  View in gallery
 Step 4c: Work Around the Sink
I kept my sink intact during this entire application process (rather than remove the sink), and this caused no problems.
 View in gallery
 Utilise your finger instead of the trowel, if necessary, to spread the concrete backside the sink. This helps to ensure smoothness and even coverage.
 View in gallery
 Wipe off the sink edges while the concrete is notwithstanding wet for easy removal.
 View in gallery
 Step five: Let dry out.
Keep in mind as you're going that any irregularities or imperfections can be sanded out after on, and so it's best to just walk away after the surface is spread. Let information technology dry out thoroughly, at least 24 hours.
 View in gallery
 Pace 6: Scrape edges when concrete is completely dry.
Using your putty knife (or a narrow chisel, as shown), scrape the bottom of the border smoothen.
 View in gallery
 Handy Tip: You may notice air bubbles in your concrete afterwards it has dried. Yous can sand some of these away, merely some will remain. To decrease the chances of these air bubbles actualization, I found it helpful to tedious down my trowel spreading. Don't slap it around. Also, keep the layers of concrete thinner, which volition decrease the potential for trapped air while the concrete is wet.
 View in gallery
 Step 7: Sand the surface.
Using your fibroid sandpaper (60- or 80-grit), begin sanding the surface of your dried concrete layer smooth. Pay attending to the feel of the concrete more than the colour; trowel strokes might appear via color variations even when the surface is completely polish.
Handy Tip: Sanding this stuff is messy concern. We recommend holding up the hose of a wet/dry vacuum adjacent to your sandpaper to grab at least some of the powder. But you'll withal detect it everywhere. On everything. Simply prepare yourself for that. Habiliment a mask.
 View in gallery
 When sanding the edges, have care to not over-sand, which volition take you dorsum down to the laminate.
 View in gallery
 Handy Tip: Wrap your sandpaper effectually a sanding block for greater command and smooth sanding, and wearable gloves to salve your hands. Wipe down the surface after sanding before proceeding.
 View in gallery
 Step 8: Repeat steps 3-8.
I recommend applying three or four full layers of concrete, sanding between each. After the final layer, replace your coarse sandpaper with fine (220-grit).
 View in gallery
 When your concluding layer is completely dry, and you've sanded it and wiped it down, you're fix to seal it up!
 View in gallery
 Step 9a: Get together sealant.
We recommend two sealants that serve ii different purposes. 511 Impregnator Sealer serves to seal the concrete against moisture absorption and stains and goes on start.
 View in gallery
 Step 9b: Apply 511 Impregnator Sealer.
Pour a small amount of 511 Impregnator Sealer into a dispensable plastic basin and spread information technology on liberally with a paintbrush.
 View in gallery
 Later a few minutes (5-10 minutes), wipe off excess, if at that place is any. I had very trivial excess, as this sealer was absorbed quickly and fairly thoroughly. But I wiped anyhow. Don't exist alarmed if the concrete looks very dark when you utilise this sealer; it volition lighten equally information technology dries.
 View in gallery
 Permit to dry out for 24 hours, so reapply a 2d glaze of 511 Impregnator Sealer. Exist sure to use sealer to the countertop edges as well as the surface.
 View in gallery
 The stale countertop will experience extremely smooth afterward two coats of sealer and will have a slight subtle sheen.
 View in gallery
 Step 9c: Utilize Safecoat Acrylacq.
This sealer also works to seal the concrete confronting moisture and staining, but information technology also adds a polished, protective topcoat that protects the concrete confronting chipping or scratching. Pour a little bit directly onto the countertop, and spread slowly and liberally with a paintbrush.
 View in gallery
 Handy Tip: I found that if you spread the Safecoat besides quickly, air bubbles volition show upwardly that don't naturally disperse. They'll dry every bit air bumps in the sealer. Also, if you allow your brush edge to go too dry, it volition leave streaks in the sealer that don't come out without sanding. (Once more, the voice of experience.)
 View in gallery
 Allow Safecoat to dry thoroughly, which takes about 4-8 hours. Even when dry out, this will provide a glossy finish.
 View in gallery
 Use a very fine (at least 800-grit) sandpaper to lightly sand between each coat of Safecoat. Sanding the final coat is optional.
 View in gallery
 Stride 10: Allow everything to dry and fully cure.
We recommend leaving the countertops lonely for at least 24 hours but actually adopt closer to 72 hours if possible.
 View in gallery
 CONGRATULATIONS!!
 View in gallery
 Your countertops are done!
 View in gallery
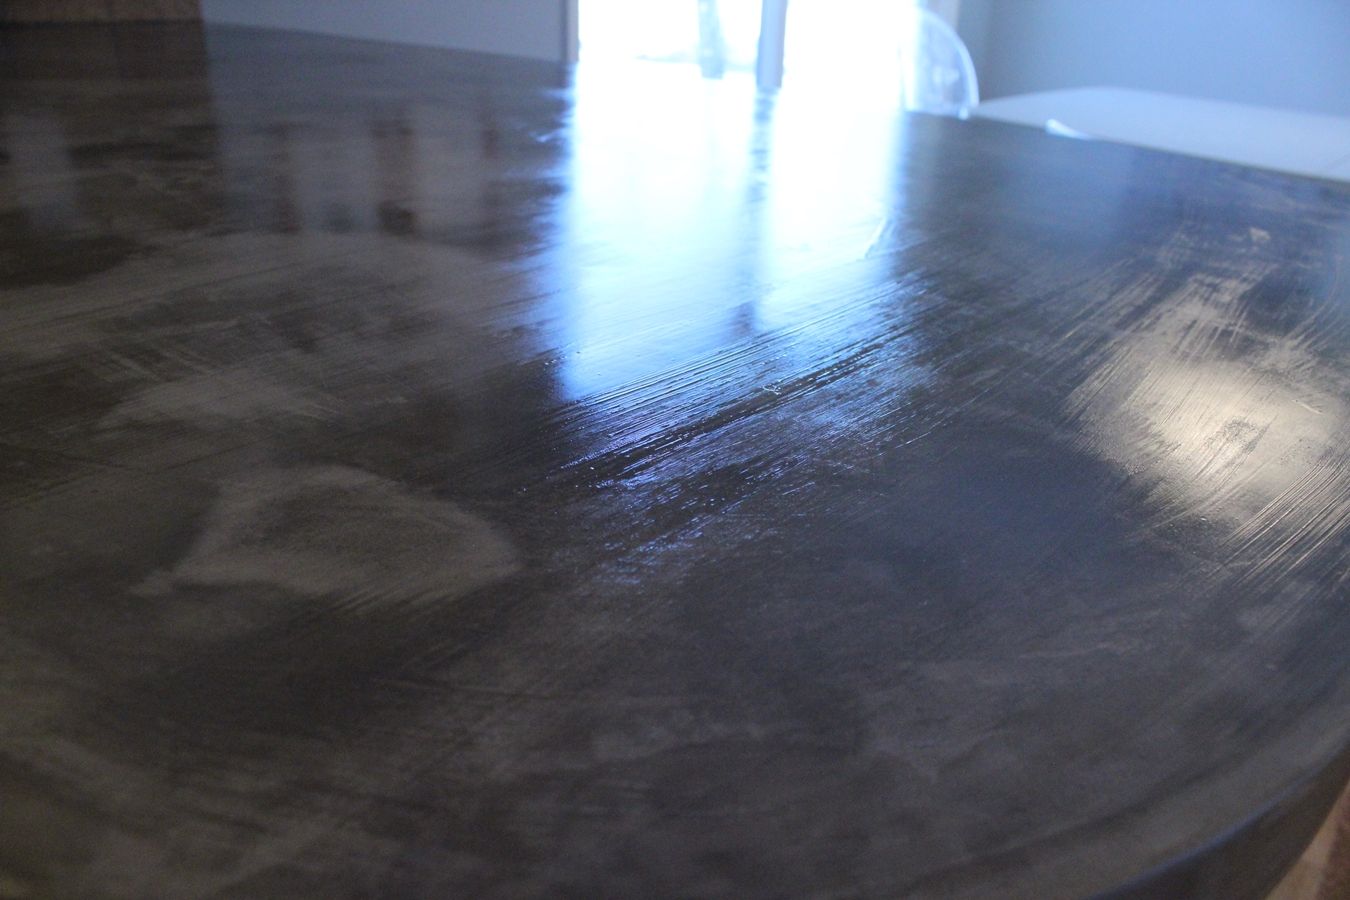
 Aren't they gorgeous?
 View in gallery
 And so smooth!
 View in gallery
 Doesn't your kitchen feel (and await) fantastically updated?
Using a physical countertop mix, you are able to easily recreate the look of your kitchen countertop without embarking on an expensive complete kitchen overhaul. If you're looking for unique concrete countertop solutions at a fraction of the price, then we promise you accept constitute it here with us.
Nosotros wish you the best on your DIY concrete kitchen countertops endeavors and hope yous love the finish outcome.
mitchelldenjudd42.blogspot.com
Source: https://www.homedit.com/diy-concrete-countertops/
0 Response to "DIY Concrete Kitchen Countertops: A Step-by-Step Tutorial"
Post a Comment